|
Threading Sewing Machines – A Common Thread Makes It Easy
Threading sewing machines is not as difficult as it may seem. Although sewing machines may come from different manufacturers, they are all threaded basically the same, with only a few very minor differences. Many times when problems arise with the machine not stitching properly, it is the way the machine has been threaded. Threading sewing machines is not a task to be feared, and it is important that the machine is threaded correctly, exactly as stated in the owner’s manual, because if the machine is not threaded correctly, the machine will not stitch correctly.
There are three stages to threading a sewing machine, threading the upper thread, winding the bobbin, and threading the lower thread (bringing up the bobbin thread).
What are the steps for each of these stages?
Threading the upper thread
Threading the upper thread involves:
1. Placing the spool of thread on the spool pin and placing the spool cap on the end of the thread to prevent the thread spool from coming off of spool pin during sewing. 2. Drawing the thread from the spool through the upper thread guide. 3. Guiding the thread around the thread guide and pulling the thread through the pre-tension spring that is part of the thread guide. The thread is now moving in a clockwise direction.
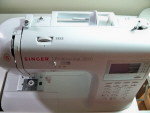
4. Next threading the tension module by passing the thread between the disks located inside of the tension module, continuing in a clockwise direction. 5. The thread is then passed down around the check spring holder inside of the tension module. 6. At the top of the tension module is a take-up lever with a slotted eye, the thread passes through this slotted eye and down toward the needle. 7. The thread now passes through two other thread guides, a horizontal thread guide at the base of the machine, then through another thread guide above the needle. 8. The needle is now threaded, and threading the machine is complete.
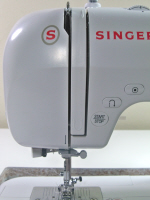
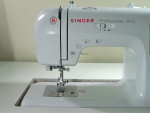
Winding the bobbin
Winding the bobbin involves:
1. Placing the thread on the spool pin with the spool cap in place. 2. Passing the thread through the upper thread guide. 3. Passing the thread around the tension disk for the bobbin winder.
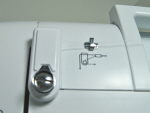
4. Placing the thread through one of the small holes on the bobbin and placing the bobbin on the bobbin spindle. 5. Pushing the bobbin on the spindle to the right to make contact with the bobbin winding device, then pushing the start button on the sewing machine or pressing the foot pedal if using a manual process. 6. Holding one end of the thread as the bobbin winds, the bobbin will begin to slow down and stop when the bobbin is full.
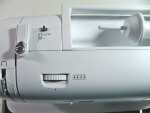
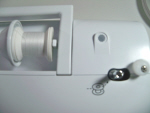
7. Once the bobbin is full, the bobbin is pushed to the left, and removed; the excess thread is cut from the end protruding from the small hole in the bobbin. 8. The bobbin is now ready for insertion into the bobbin holder and threading the lower thread or bringing up the bobbin thread as it is also called.
Threading the lower thread (bringing up the bobbin thread)
Threading the lower thread involves:
1. Placing the bobbin in the bobbin case. 2. Passing the bobbin thread through the guides in the direction that the arrows are pointing.
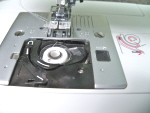
3. Cutting the excess thread and replacing the bobbin case cover.
4. Using the handwheel to bring the needle down into the bobbin case and back up to pull up the bobbin thread. The process of threading sewing machines is now complete.
For some examples of threading sewing machines for different machines, click here The examples used are for machines from Singer, EuroPro, and Husqvarna Viking.
Although, there are some threading steps that all sewing machines have in common, the best source for threading sewing machines is the manual that comes with the machine.
It is always very helpful to see sewing machine threading in action, so here is a nice video series from ehow.com.
For other great information related to learning about and maintaining your sewing machine, click on the links below.
Sewing Machine Basics
|


